Renault Kangoo Campervan Conversion
Yes! It is possible to convert your Kangoo into a true mini campervan
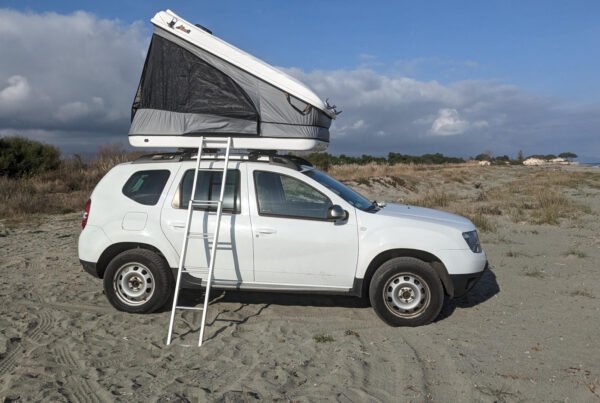
For those looking for ultimate comfort, the ability to stand up inside the vehicle, or live in it year-round, you can close this page 😉
For everyone else who wants to convert a small utility vehicle, you’re in the right place 😊
Where to start?
To get started, the first essential step is to buy your vehicle. One of the main advantages of the Kangoo is that there’s an option for every budget. From brand-new models to older versions, you’ll easily find the right one on platforms like Leboncoin
The vast majority of these vehicles are diesel, just like the Dacia Dokker or the VW Caddy
You’ve bought your Kangoo 😊 now you can finally start the conversion
Insulation
One of the big questions when converting a van is: should I insulate it? Does it really make a difference?
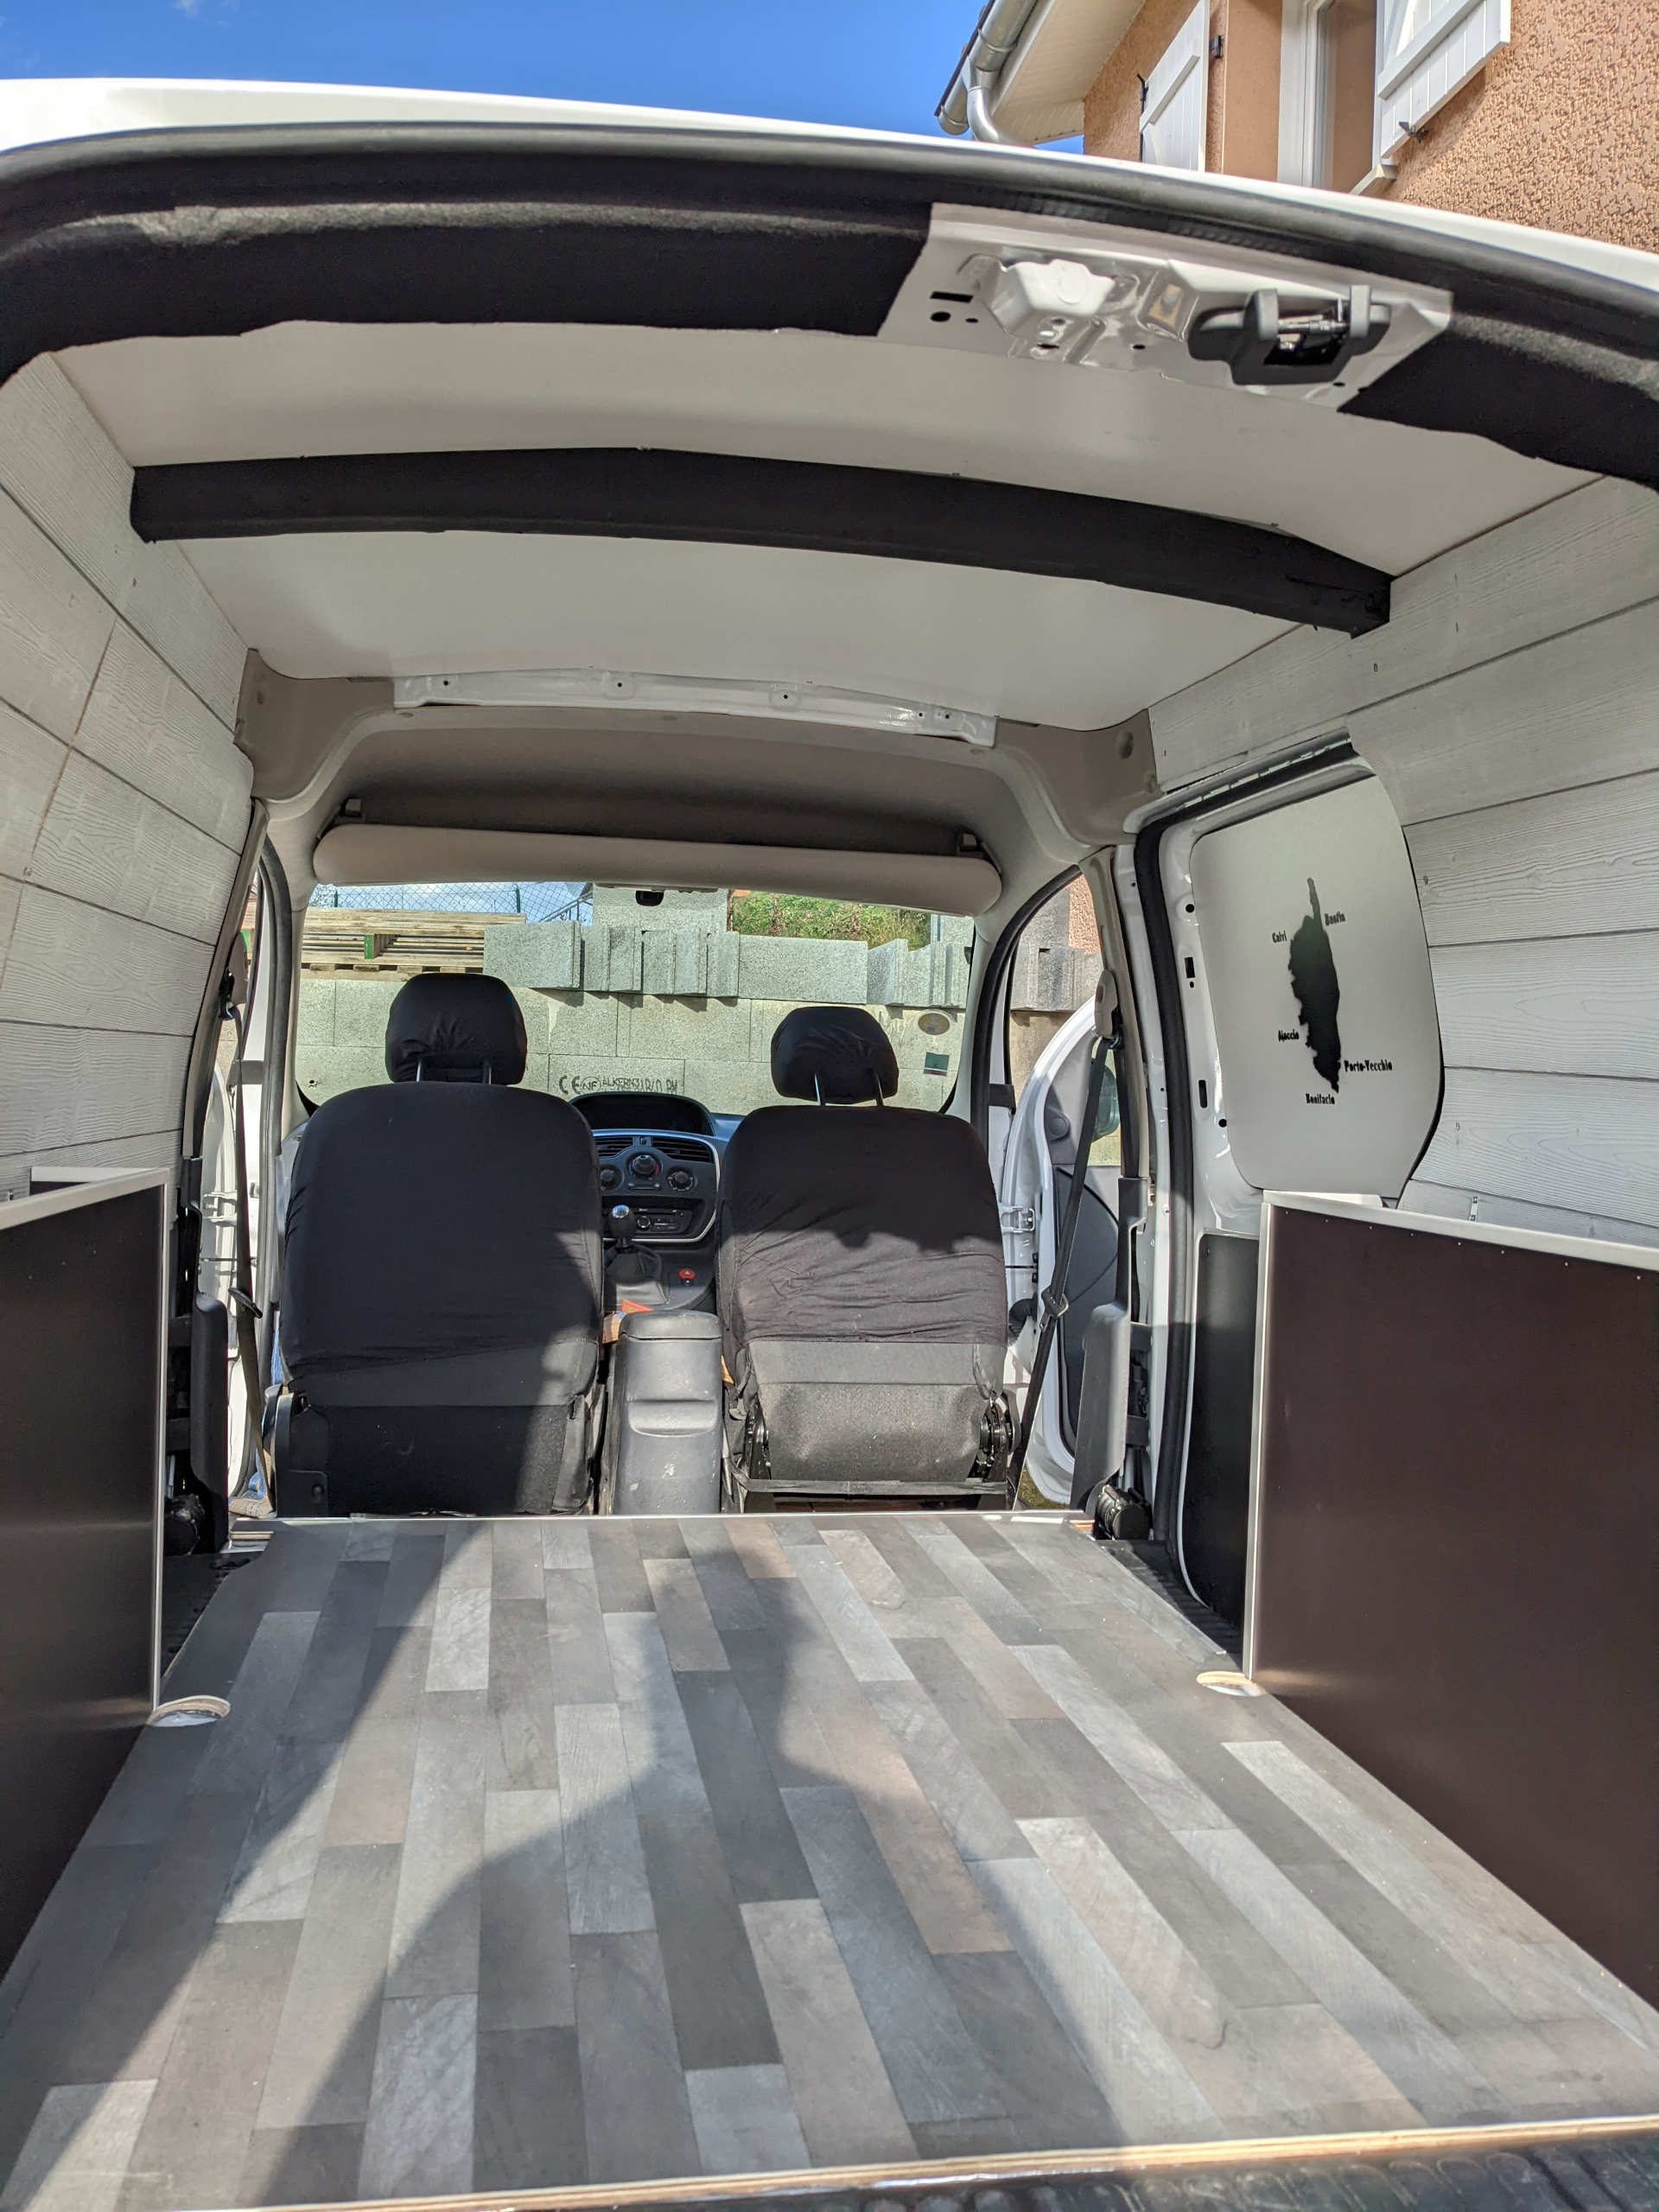
First of all, it’s important to know that a utility Kangoo has no interior trim like a passenger car. Between you and the outside of the vehicle, there is only bare metal
The biggest drawback is sound insulation. If you don’t insulate the interior, it quickly feels like you’re driving with the doors wide open (especially if you remove the bulkhead, which is essential if you want a bed longer than 1.75 m). Insulating the van significantly reduces outside noise, which is far from negligible. It helps limit road vibrations and also filters external sounds
When it comes to temperature, insulation will slow down heat from entering the vehicle when it’s very hot outside. But let’s be honest: after one hour in full sun, it will still be very hot inside. In summer, you’ll still be happy to be able to sleep an extra hour 😉
In winter, if you don’t have a heater inside, insulation won’t be of any use! It will be cold — very cold. With a small heater, however, insulation becomes useful, just like in a house
The biggest advantage: a significant reduction in outside noise
The downside: it’s an extra cost €
How to insulate it?
There are several ways to insulate your van (more or less expensive)
- Using Armaflex insulation rolls, which are very easy to cut and install. It’s best to choose AF Armaflex with a self-adhesive backing. There’s no need to go too thick — this is a Kangoo after all (9 mm or 15 mm is more than enough)
- Multi-layer thin insulation is easy to cut but fairly tricky to install. On the plus side, it’s much cheaper than Armaflex. Be careful with thermal bridges if it’s not installed properly.
Tip: avoid bubble-wrap style insulation, with temperature changes inside the van, you’ll hear the small bubbles crackling, which can be quite annoying, especially when you wake up - Cork insulation comes in the form of sheets, rolls, or spray-on granules. It provides good thermal and sound insulation while being resistant to moisture. Spraying it on with a gun is quite expensive, but the finish and insulation quality are excellent. In roll or sheet form, it’s more affordable but fairly time-consuming and tricky to install and glue
TIP: For the internal reinforcements inside the rear and side doors, choose sheep’s wool — a reliable insulation material that doesn’t retain moisture. Avoid fiberglass insulation at all costs; it’s completely unsuitable for van conversions
CONCLUSION: ARMAFLEX is easy to install, does exactly what you expect from it, and for a Kangoo you don’t need to buy huge amounts. (Budget +++)


The conversion
We’re finally done with the insulation (phew!), and we can move on to the conversion — the part that will define the final look of our converted Kangoo
Which materials should you choose?
It all depends on your budget 😉
If you want something high-quality and great-looking, you’ll inevitably need to spend more. If you’re aiming for a simple and low-cost conversion, there are also plenty of solutions 😊
Let’s start with the floor conversion. On a Kangoo, the simplest solution is to cut a 10 mm plywood board to the size of the floor and simply lay it down. There’s no need to fix it in place — once positioned, it won’t move thanks to the wheel arches
TIP: When you buy a Kangoo, there’s usually a floor mat inside. Use it as a template to cut your wooden board
If you want a top-notch visual finish, stick a LINO (PVC flooring) of your choice using double-sided tape. It really completes the floor and will impress your friends 😉
If you’re on a tight budget, skip the lino 🙂
Next, the ceiling conversion:
Here, there are two options. Either you cover the entire length of the ceiling, going over the central reinforcement beam
Or you can simply cover the two sections on the right and left of the reinforcement. In my opinion, this is the best option because it preserves headroom — and in a Kangoo, it’s better to optimize space as much as possible to avoid feeling cramped
Cover it with MDF boards cut beforehand to the correct dimensions, using 3 mm MDF. You’ll find these in DIY stores (they can even cut them to size for you on site). Why 3 mm MDF? Because it’s easy to bend without breaking, allowing it to follow the curve of the ceiling without losing a single centimeter of space
To fix the boards, keep it simple: grab a screwdriver and small self-drilling screws, and screw directly into the reinforcements. I did say the reinforcements — otherwise you’ll drill straight through the bodywork, and that’s a disaster 😬
Interior wall conversion
To cover your interior walls, you have several options:
The cheapest option is to cover the walls using 3 mm MDF boards, cut to the size of the panels. Installation is the same principle: self-drilling screws, screwed directly into the body panels
TIP: If you really don’t want to drill directly into the metal bodywork, you’ll need to glue wooden battens perpendicular to the wall, then fix your wooden panels by screwing into the battens. You’ll inevitably lose some space and it will take longer to do, but you won’t drill any holes in your nice Kangoo 😉
For higher budgets, cover the walls with wooden tongue-and-groove paneling of your choice. It takes much longer to install (still using self-drilling screws into the reinforcements) since each panel has to be cut to the right size. However, the final result is on a completely different level Yes, it looks much better!
For the wheel arches, build a boxed frame using 10 mm plywood and secure it to the floor with small metal brackets


The CAMPING-BOX
You’ve now finished insulating and lining your Kangoo van 😊
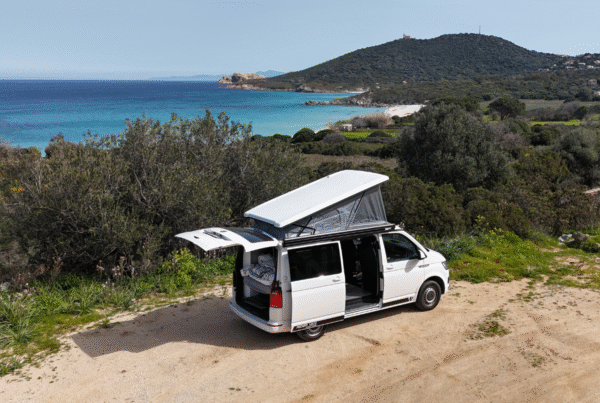
Essential to finish your converted Kangoo van: the camping box or removable conversion unit, which installs inside your van in just 30 seconds. It literally transforms your Kangoo into a real mini campervan 😊
If you’re handy, grab your tools, you can build it yourself and customize it to your taste 😉
Otherwise, feel free to contact us for information and pricing on our ready-to-use conversion units for sale
That’s it, I hope this page will help future Kangoo converters 😊